Christmas is a happy time where everyone is joyful because of the wonderful events and functions, beautiful illuminations and lovely foods and what makes people happy is to see their families celebrating the holiday season together. And it’s not for nothing that many people consider a crucial aspect of preparing for the Christmas period to be the decoration – and this includes Christmas nails! The best example of such an idea is Christmas nail art, which has become a popular means for individuals to express their creativity during the holiday. If you are planning what you can do at home until you visit the salon again, or for ideas on what your nail technician can do, this piece will feature 25 of the best Christmas nail art ideas and how you can achieve such styles.
Getting Started
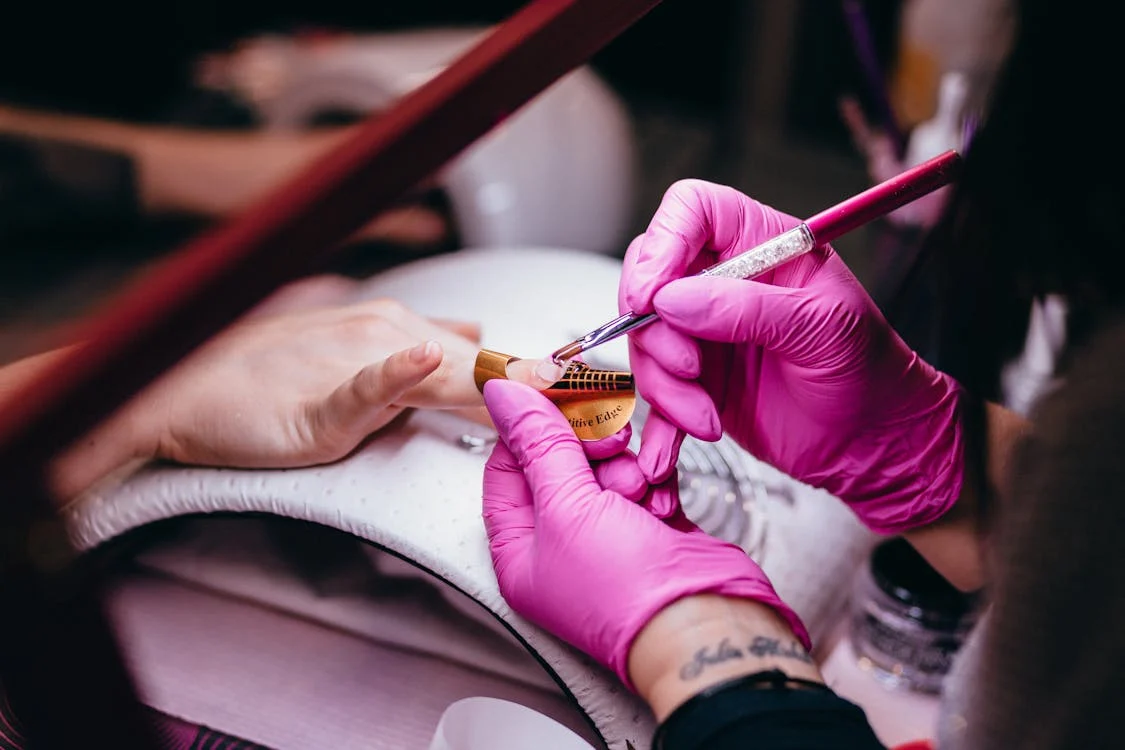
Before moving to nail designs, it is important to refresh some tips that will help you get holiday nails at home. This Christmas, making arts and crafts is fun and easy if you have the right supplies and techniques.
Supplies:
– Base coat
– Holidays and revelry shades such as red, green, gold, silver,white and black
– Top coat
– Striping tape
– Superglue, rhinestones, glitter and any other accessory that can be used for nail art.
– Dotting tools
– Striping brush
– Nail art brushes
Tips:
– First and foremost apply the base coat which will act as a barrier to any dirt that may come through.
– With the help of a striping brush and fine steadiness, carefully draw straight lines on the surface.
– Using the dotting tool, one should wet it in polish to form perfect circles and other shapes.
– This is a clear version of the base coat that secures the design and it is best applied after completing the design and allowed to dry.
– This is a perfect chance to experiment with glittering, solids and shapes!
Easy Christmas Nail Ideas
These first set of Christmas nail art designs are relatively easy compared to some of the other designs you could try.
1.Candy Cane Nails
Candy cane in red and white colour, well, that is the sign of Christmas! Basically, paint your nails a full red colour first. Then use striping tape to mask off stripes and paint over them in white polish, this will then give you a guide and you will paint over the striping tape and polish the whole rim white and let it dry. To maintain its whiteness, it is advisable to remove the tape immediately to get smooth and well defined white stripes. Do this and the final step is to paint a layer of clear gloss.
2.Snowflake Accents
Finally, get a nice colour for your nails that resembles winter and this may include ice blue, silver or pale blue among others. Let dry. Then take a toothpick or dotting tool and dip it into white polish and apply small dots on the nail to form the snowflakes. Draw the perimeter of the snowflakes with a darker shade of the colours chosen such as black or dark blue to create the impression of depth.
3.Glitter Tips
In summary, use the red or green polish that you purchased and cover it with 2-3 layers. Then, apply some glitter nail polish on the nails or immerse the tips of the nails in a small dish containing loose glitter while the base colour is still wet. Allow it to dry and set and then put on a clear coat on the sparkling tips. The gradient effect is rather appealing and rather easy to accomplish!
4.Holly Leaves and Berries
First, paint some berry-coloured circles closer to the tips of your nails using the dotting tool. Then, with a very thin nail art brush and a dark green polish paint a few holly leaves to place on the nail design.
5.Christmas Light Nails
Paint the first nail one bright colour, the second nail another bright colour. Then apply striping tape and then proceed to make stripes on each nail using it. Apply the red-striped tape to the yellow nails and the white-striped tape to the green nails. Want to have cute Christmas lights look instantly?
6.Buffalo Plaid
Buffalo plaid pattern: Paint nails red and black with the red colour placed at the bottom and slightly overlapping the black colour. Let it dry. Next apply striping tape to create mini stripes on all nails and paint over it with the second colour. Unclasp instantly for a comfortable buffalo plaid pattern.
7.North Pole Scene
Apply a base of blue or white, depending on the shade of winter you want to attain. Take striping tape and cut them into triangle shapes and it represents pine trees, stick on the ring finger nail. Using a dotting tool and grey and black polish, apply a ground effect onto the design. Sweeping paint with a striper brush on the snow that has fallen. Shine with silver glitter and decorated with white snow dots for depth.
8.Charming Christmas Tree
For this, on an accent nail such as your ring finger, you should use a thin nail art brush to paint green to give the Christmas tree an outline. Application of green glitter polish should be done while the shape is still wet in order to achieve a sparkly feel of the design. Finally, use a dotting tool as an extra tool and attach yellow star ornaments as well as multi-coloured round ornaments. Upon the completion of the second layer, re-outline with a dark green striper brush.
9.Jolly Santa Claus
For the first layer, it is appropriate to use red polish on the nails. Then, mix the same colours again and paint it on the face and hat of Santa the same using a small detail brush. It is advisable to use white polish to put fur trim around the Adventist man and to draw aspects of his face such as his beard. Include a little twinkle with glitter yellow if the magical effect is required or for any special occasion.
10.Festive Wreaths
Before that you need to paint your nails green. Take striping tape and cut small circle shapes for the base of the wreaths then stick them at random positions on each nail. Paint the inside of the circle wreaths red, white and gold dots with different sizes of dotting tools. Enhance the wreath nail art design by drawing tiny red bows on the nails.
11.Chic Argyle Sweaters
Place striping tape on each nail in a diagonal formation; make sure each triangle is on a different side. Paint them with festive red and green polish for the Christmas season or with other bright and dark combinations, black and white or pink and navy blue. When painting the shapes, it is advisable to gently remove the tape as soon as possible to get those neat defined argyle prints.
12.Christmas Cookies Galore
Using a white gel, line an area of the nail and apply an opaque glitter to create the milk effect. Next, you can dot on some plain and variously decorated Christmas sugar cookies with dotting tools. Make red, green and white cookies frosted with images such as sprinkles, candy canes, chocolate chips, trees and other forms using black and coloured stroker brushes. Yummy!
13.Rustic Christmas Florals
Anchors must apply paint on black polish as your base first and you should let it dry fully. Finally, take a thin nail art brush and paint with different colour polish or shades of red, maroon, white, green and gold to make Christmas flowers on one or two accent nails. This technique can be enriched with the addition of leaves and stems to the picture. Top with a matte top coat for a timeless black floral design.
14.Frosted Windowpane
To create the effect of ice on a glass, use a greyish blue colour from the base of the nail up to the tip of the nail. Then, remove the mask off the square and rectangle shapes and continue with striping tape that resembles frosty frames of windows. Rub the masked off sections in an ivory polish paint. Take off the tape and the last detail of glittery silver snow painted on a corner of whatever was just taped.
15.Woodland Trees Silhouette
Next, apply striping tape on the black base to create a horizontal line across the whole nail that will act as the ‘ground.’ Paint evergreen trees in dark emerald green polish all across the rest of the nail above the ground line of different heights. Remove the tape after the polish has dried but is still tacky for a cool silhouetted landscape.
16.Beautiful Bows
Place big red, green or white bowed shapes by painting it with an angular nail art brush into accent nails over a different base colour. Then, draw thin white lines on the outline adding black shades on the edges to give it depth. Place more little bows along the other nails in the silver and gold colours which are in line with the metallic category.
Glittery Christmas Nail Art
Who said that there is no way to have more sparkling nails for this holiday season apart from using glitter polishes and accessorizing them? Dazzle with these ideas:
17.Christmas Glitter Gradient
The first layer of paint must be red, green or silver to serve as the base coat. After the polish is still wet, apply the fine glitter on the tips of the nails and brush it outwards to achieve a glitter fading gradient look. Finish with a sparkly clear layer for extra shine.
18.Embellished Snowflakes
First of all, apply some white or silver polish on the surface of the item. Let dry fully. The decoration to the nails should be done with rhinestones, pearls, micro beads or any other nail embellishments using a small brush or toothpick dipped in glue by applying the snowflake designs on the nails. If desired, it is possible to draw some white nail art pen snow falling details for extra attraction.
19.Crushed Glass Glitter
To accomplish the divine shattered ice appearing, start applying a clear polish base coat, and then 2-3 layers of chunkier cut or crushed glass glitter on the top. Then allow it to dry properly and then apply a thick and glossy top coat to level out and make it matte on the glitter. The glassy effect seems to enchant with ice crystals.
20.Glitter Ombre French Tips
Using a white polish, paint on the tips of the nails and paint almost halfway down the nail. Then paint small medium then large red glitter starting from the tips and paint from the back wet-on-wet while the polish is still sticky. Red and white are Christmas colours, which look very appropriate in the Christmas setting.
21.Holiday Textured Glitter Gradient
There is no need to prime; it is sufficient to paint the surface with silver, white or pale blue initially. When it is still wet, apply the loose fine and chunky mixed glitter near the cuticles and spread it towards the outside in a gradual ombre. After that, let it dry fully and then seal in the texture with the last thick layer of the polish.
22.Gilded Metallic Tips
Paint the entire nail tips with a gold glitter colour and ensure they dry very fast leaving a little space from the cuticles. Then paint the second layer on your base colour like a classic red or poppy orange to complete the remaining nails before the glitter sets. The reverse glitter tips form a ‘golden’ manicure appearance.
Red and green are two traditional colours of Christmas and so incorporating these two colours in your nails would be a perfect way to complement the season.
Of course these two iconic Christmas colours simply have to be included! Try these festive red and green nail ideas:Try these festive red and green nail ideas:
23.Retro Christmas Pattern
The basic colour you need is red polish. Then with the striping tape cross over and paint them in green polish. Then bring the next mask stripes perpendicular to generate a retro crisscrossing design. If there are any free stripes left then paint them in with the red polish. Some of the common issues are; Striping tapes should be removed immediately after painting each layer and before the clear coat dries to get a sharp line.
24.Bright Candy Cane Swirl
Paint the layer on a white base, red and green diagonal criss cross lines using the thin striping brush. Before the nail starts to dry, take a toothpick and draw it through the top of the nail in the form of a candy cane swirl. Allow to dry completely and apply a clear high shine glossy top coat to give it the professional look.
25.Classic Red and Green Plaid
For a classic Christmas plaid, start by painting your piece with the red under colour then paint the green squares on top, masking out the striping tape. Safety: remove tape immediately and ensure it dries before applying the next colour. The next step is to mask off red squares in the opposite pattern and apply red polish inside the squares. Type of adhesive used is also flexible so after removing the tape, apply a clear coat to cover up the plaid pattern.
Conclusion
Since there are so many cute Christmas nail designs to do, you would certainly be in the right spirit to share joy wherever you are! Gradually start with easy striping tape application and to create glitter gradients. From that level, move up to painting small scenes, textures and winter scenes on your festive nails this season. Whatever pattern you decide to paint on your nails, just remember that is basically the same as putting on a Christmas hat, gloves, scarves and socks- only for fingers and toes!